Showing posts with label decorating. Show all posts

Thursday, March 22, 2012

Happy vintage sheet bunting tutorial


tutorial This project was inspired by THIS picture that I caught on Pinterest. I really loved the idea, and as I mentioned before, I have been squirreling away vintage sheets for some time, and thought this was just the project to start chopping them up for. I didn’t find any directions for how to make the bunting exactly, so this is what I came up with.

march 20125

The first order of business, was coming up with a pattern, so each scallop would be uniform. I pulled out a 6 inch plate. Obviously the size could fluctuate depending on what size bunting you want. A really big one would be great to decorate your porch, and a mini one would be sweet on a doll house. The possibilities are really endless!
After cutting the circle from paper I folded it in half. The line shows the halfway mark. Then I folded it about three fourths of an inch from that center fold. I wanted my scallops to be slightly bigger than half a circle, and some of that will go into the bias tape used for the string that holds the scallops together.
I used that paper pattern to then cut two of every fabric (sheet in this case) I wanted to include. Most of my vintage sheets have a background of white, and I wanted more color so I included a few other fabrics from my stash. I can picture this project in several other color ways as well, red, white, and blue for July, red and green for Christmas, or any fabric that matches your decor. The possibilities are really endless!You could also use felt and just pink (that's when you use those zigzag scissors or what they call pinking shears) the edges instead of sewing, or burlap would work for all you burlap lovers out there.

When all my pieces were cut, I simple sewed right sides together, sewing only the curved edge, and leaving the straight edge to turn. This raw edge will be covered by the bias tape. After turning each scallop, I ironed them all flat.

I used this fab tutorial to make bias tape out of what quilters call a fat quarter. A fat quarter is a fourth of a yard, but not 9 inches like they would give you at the fabric store if you asked for a fourth of a yard. A fat quarter is a half of a half. In other words it is a piece of fabric measuring 18 inches by 22 inches. I was able to make over 7 yards of 1 and an 1/8 inch bias from my piece using her directions. I made mine narrower because I wanted my finished string narrower. I only used about a half of my bias strip for both the shorter bunting on the window, and the longer bunting draped on the mantle. That means I have a few yards left for another project!


All that was left to do after both the scallops and the bias were finished, was just to sew the two together. Just sandwich each scallop between the fold of the bias leaving about 3/4 between each, and sew together. You are done, and you have a very happy bunting to enjoy for years to come!

The bias was by far the most tedious part of this project. Marking, sewing and cutting it was a breeze. Ironing it in half, and then each half into the center, not so much. You could certainly use store bought double wide bias (it comes in a little pack near the notions), and that would make it much easier, but I wanted to use a printed fabric (in this case a vintage sheet), and I also wanted to try this technique. I also have a gift for making any project I make as complicated as I possibly can. It's a gift, what can I say? I will make bias again, but after I get one of these bias maker thingamajigs. I think the printed bias really adds a special touch.

Happy bunting making ya’ll!

linking up with beneath my heart

Wednesday, March 21, 2012

2012 spring mantle


Only eighteen days until Easter, so spring decorating is on my mind. I love Easter, and I love spring!
I found this old window in the barn at our last home, so I dragged it out when the movers came to pack us up. When I say I dragged it out, you understand that I really mean that Michael dragged it out, and I said “please may we keep her”, in my sweetest whiney voice, and he said “sure” knowing that it would be one more thing to store in his garage that I would probably never use. But lookey here everyone. I cleaned her up, and she has a real home of honor, for the spring at least.


I painted this canvas too. I was inspired by something I found on pinterest. I’ll show you what, and how in a post real soon.


I found this Happy Easter garland at Home Goods in Atlanta some time ago.She is glitterfied, and sparkles not to much, but not to little.
I made the scalloped bunting out of vintage sheets that I have been hoarding saving up, for just the right project. I’ll show you how on that too, real soon. It was uber easy, and crazy fun, and when I say crazy fun I mean in a kinda tedious, but oh so rewarding kind of way.


Hope you like my mantle, and will leave me a comment, unless your name is anonymous, and you like to leave snarky not very encouraging kind of meanness, then of course you may please refrain from commenting, but know that I love you anyway, cuz I see through that snarky mean exterior, and see the awesome, encouraging, positive person that is trapped inside, just aching to get out!

Happy Easter ya’ll

linking up with Dear Lillie
Wednesday, March 14, 2012

Hounds tooth


So, Hounds tooth is making yet another comeback, or perhaps it is a classic. I don't really know, but I am seeing it everywhere, and I must say I LOVE it! This quilt from V and CO. actually grabbed my attention a few months back when we were waiting for sweet Ryder to arrive. I think it would be awesome for a grown-up bed too, perhaps in white and azure blue. Anyone want to make it for me?

Here is a more doable project for someone like me, a hounds tooth monogram! I saw some great big letters at the craft store just the other day that would be terrific for this project. There are some easy to follow instructions for this beauty over here, at Jilly and Mia; Girls with Good Taste.


houndstooth stencil

Ooooooohhhhhh, how about a whole hounds tooth wall? I really love this! I found this over at Cutting Edge Stencils and this stencil is called hounds tooth, how appropriate :). all the grey is wonderful, but again, any color that matches your decor would be great.


This blue and orange combo is delicious isn't it? I especially love those hounds tooth pillows, classic and timeless, all wrapped up with trendy and fresh. What more could you ask for? I found this on Pinterest,  but it comes from Kathryn Greeley designs.


 I found this great DIY tutorial for a hounds tooth light shade at A girl and a glue gun. This was a really simple project that made a really big impact in a really cute room, and I love the large scale she chose.

Houndstooth Flat-Weave Wool Rug

Last, but certainly not least, is this fun floor cover I discovered over at Garnet Hill, and they have it in Lake Blue (my personal fav.), Amber, Toffee, as well as Terra Cotta and Coffee Black. I think this would add a lot of style to almost any room.

I'm looking to add some hounds tooth to my decor soon. How about you, Do you like hounds tooth? Would you ever use it to decorate?

Tuesday, March 13, 2012

Kiss me I'm Irish

Apparently, way way back in the day, kissing the Blarney stone at Blarney Castle would give said kisser the ability to never be at a loss for words. That is frankly not something I see many people suffering from, but perhaps in Ireland back then, cat got your tongue was the going delema.
 
This practise now translates in modern day culture that to kiss someone of Irish descent is the next best thing. Easy jump there I guess, from a rock in Ireland, to any pretty red head where ever you happened to be.
 
While I am not a believer in 'LUCK', I am at least a little Irish, so I thought a little shamrock action in the ol' March decor was in order. I painted this little number to celebrate our Irish ancestry, and get ready for the St. Patrick's day festivities. That might include some green pancakes for breakfast, and perhaps green mashed potatoes for dinner.
Do you do anything to celebrate your ethnic heritage?
Posted by Picasa

Monday, March 12, 2012

My cloche


I am crazy for cloches, no really I am.
I'm not sure why, but they intrigue me.


I started collecting them a few years back, and find them so fun to fill and scatter through out the house. Michael and the kids gifted me this giant one two years ago for my birthday, and it is my favorite!


For this time of year, it's a challenge to think of something fun to put in it. I don't really want to plant anything in it, although come to think of it, clover would have been fun for St. Patricks day. I like to change the display for the different seasons. This time I stacked favorite old books. I am often drawn to old books, sometimes just for their old pages for use in craft projects. Our family LOVES books, so it is fitting that we live with books, and admire their beauty.


Do you have anything at your house, that you leave out all year, but change for the seasons, or any collections that you scatter to decorate different parts of your home?

Thursday, June 2, 2011

ice cubes?


Son number one, and his beautiful wife, gifted me this beautiful orchid for Mothers Day. Son number one texted me two weeks later and asked, "Is your orchid dead yet?". He knows me well! I absolutely LOVE flowers, and flowering plants are even better, but my thumbs are very definitely pinkelish peachelish, and not at all green, if ya catch my drift. Said orchid is still looking gorgeous, but I fear her days are numbered, and as I told son number one, I try not to let her catch me looking at her.


Look at this beaut, milky white petals, set off with magenta centers, she truly deserves a better care taker.

Well, while picking up balloons for the aforementioned graduation of son number two, I noticed some pretty plants similar to her, awaiting purchase. On their tags were directions for care. The tag suggested three ice cubes per week! Yes, I said ice cubes. Crazy huh? It doesn't seem like her delicate self would like that coldness, but I'm gonna give it a try! I can see my right thumb turning a very slight shade of mint as I write, perhaps pretty orchid has a chance after all!
Posted by Picasa

Tuesday, May 31, 2011

Finally, my spring wreaths!


I wrote quite a while ago, in this post, that I was going to make some new spring wreaths for my front doors. I didn't forget, just took an unplanned hiatus from blogging, and never showed you the outcome.


Here they are, not EXACTLY what I was going for, but they work, and they do say spring, as well as summer, maybe I can even talk myself into them being both fall and winter, and that is a good thing, as I doubt I will be changing them anytime soon.

First I sprayed the grapevine wreaths I found at Hobby Lobby with satin clear coat, to give them some shine. That stuff dries almost instantly, and it's clear so you can spray them right on the grass and no one will ever know. Not that I did that Michael, I'm just sayin. I couldn't find felt in the colors I wanted, so I used real felted wool sweaters (as opposed to imitation felted wool sweaters). They were still not the colors in my head, but they are bright and cheerful. I used faux eucalyptus to fill in a little. I glued it all down safe and secure with LOTS of hot glue!


I found the cute polka dot ribbon at Hobby Lobby, and it all came together in the end.


check out more great projects here


http://todayscreativeblog.net/get-your-craft-on-13/
Lettered Cottage">The Lettered Cottage


Posted by Picasa

Wednesday, March 16, 2011

spring wreaths

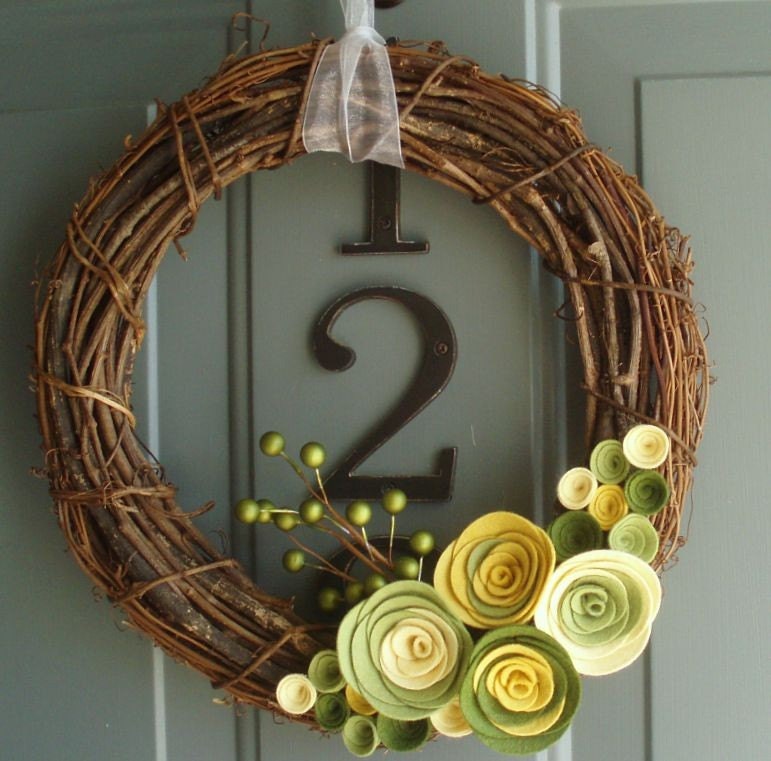
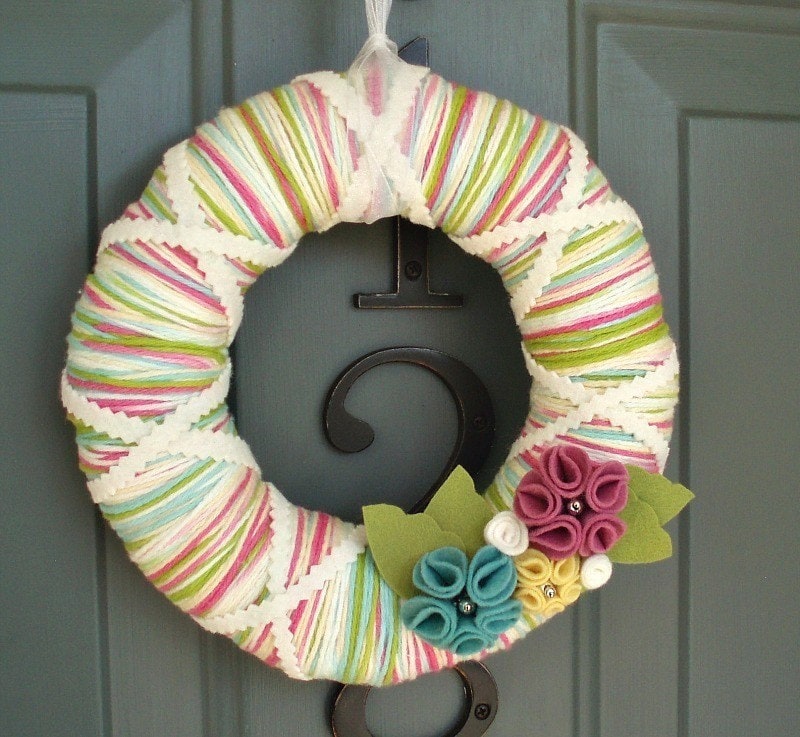
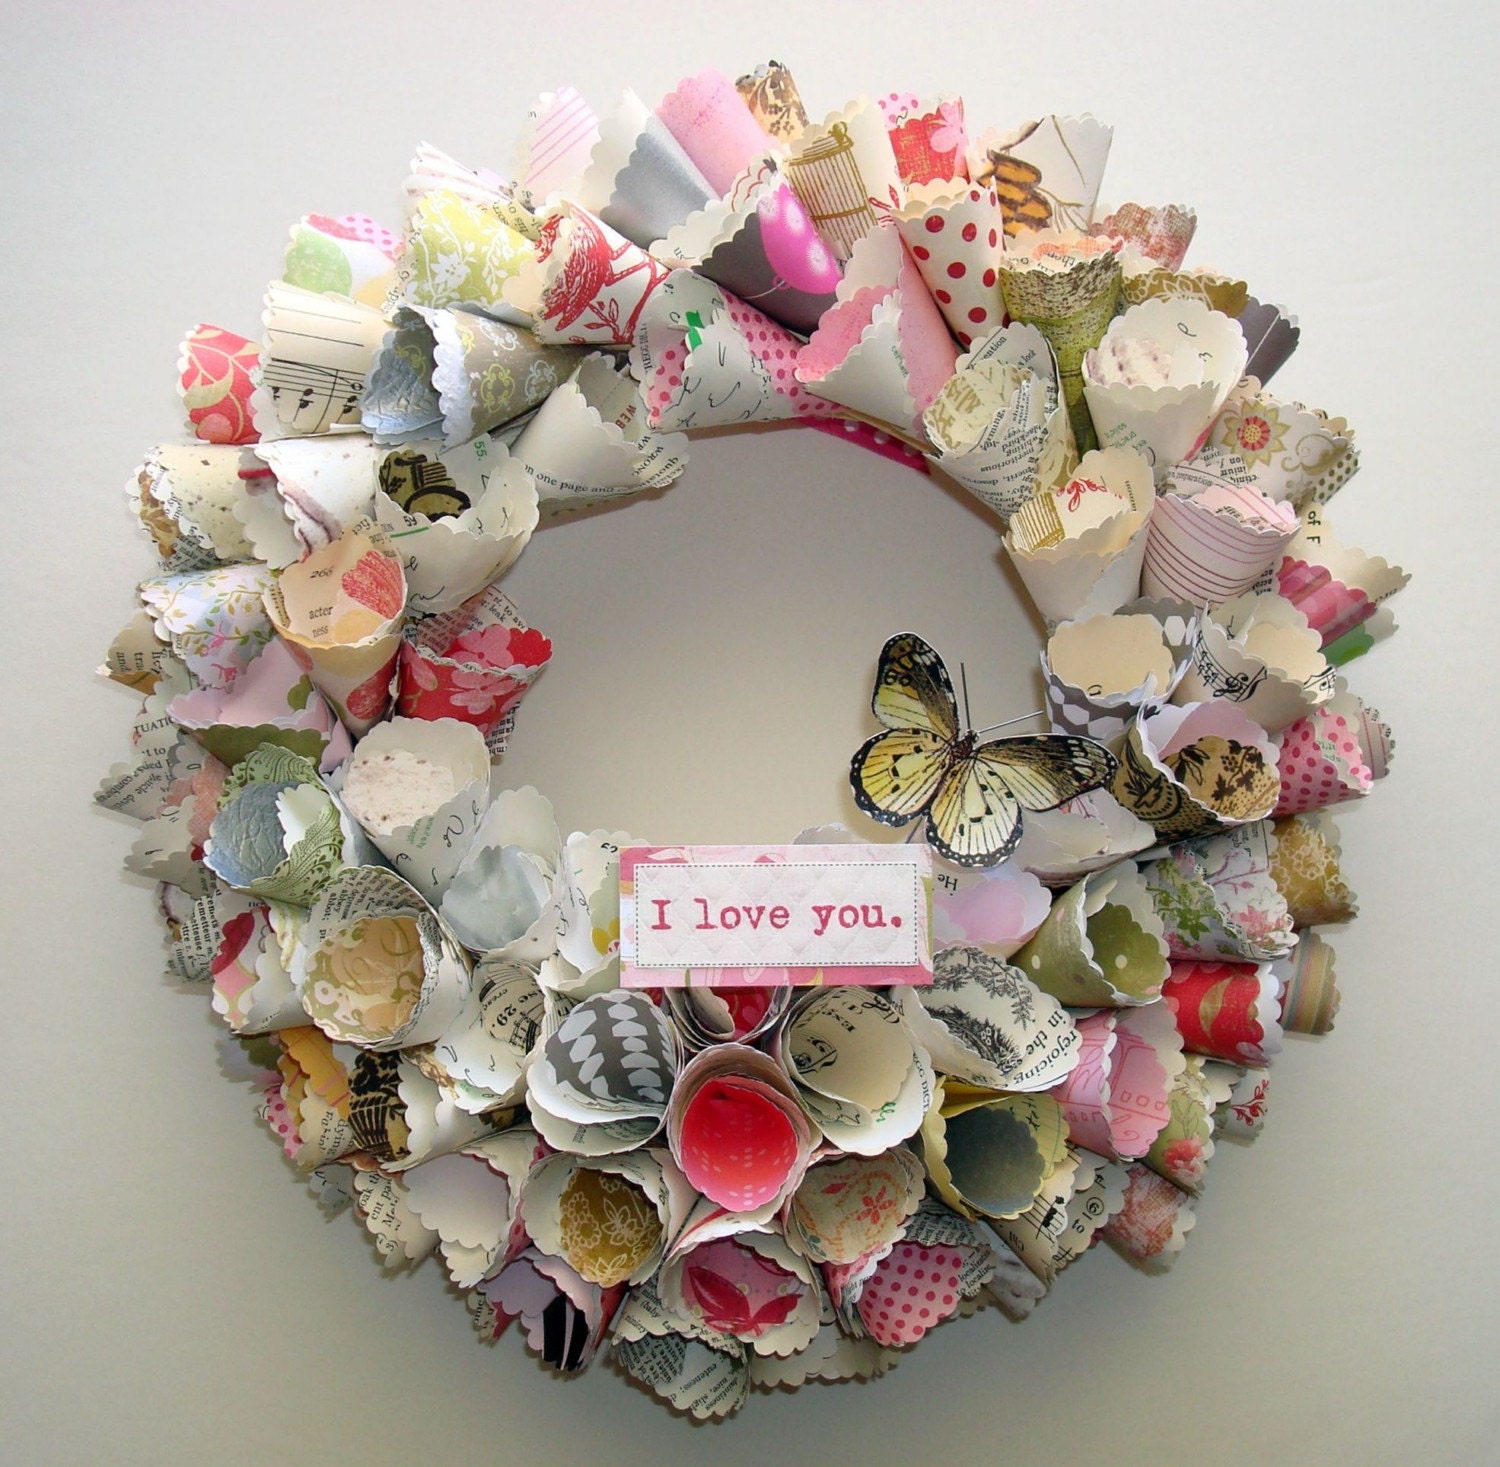
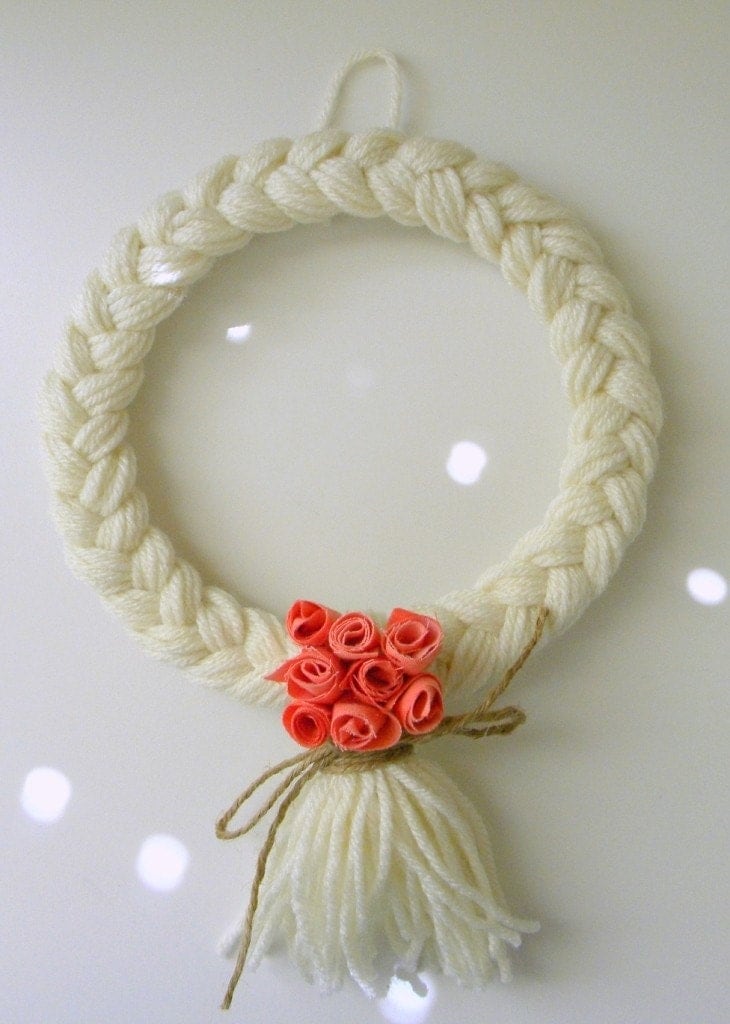
I think this paper roses wreath by Stephanie Lynn at Under the table dreaming is really to-die-for. I have been keeping my eye out for a pretty wreath idea to make my doors a bit more welcoming, and this was the first that really caught my attention. I have double doors, so making a wreath, means making two:). Here is the line up of the favorites I found. I am enlisting your help in choosing which one to try to make.
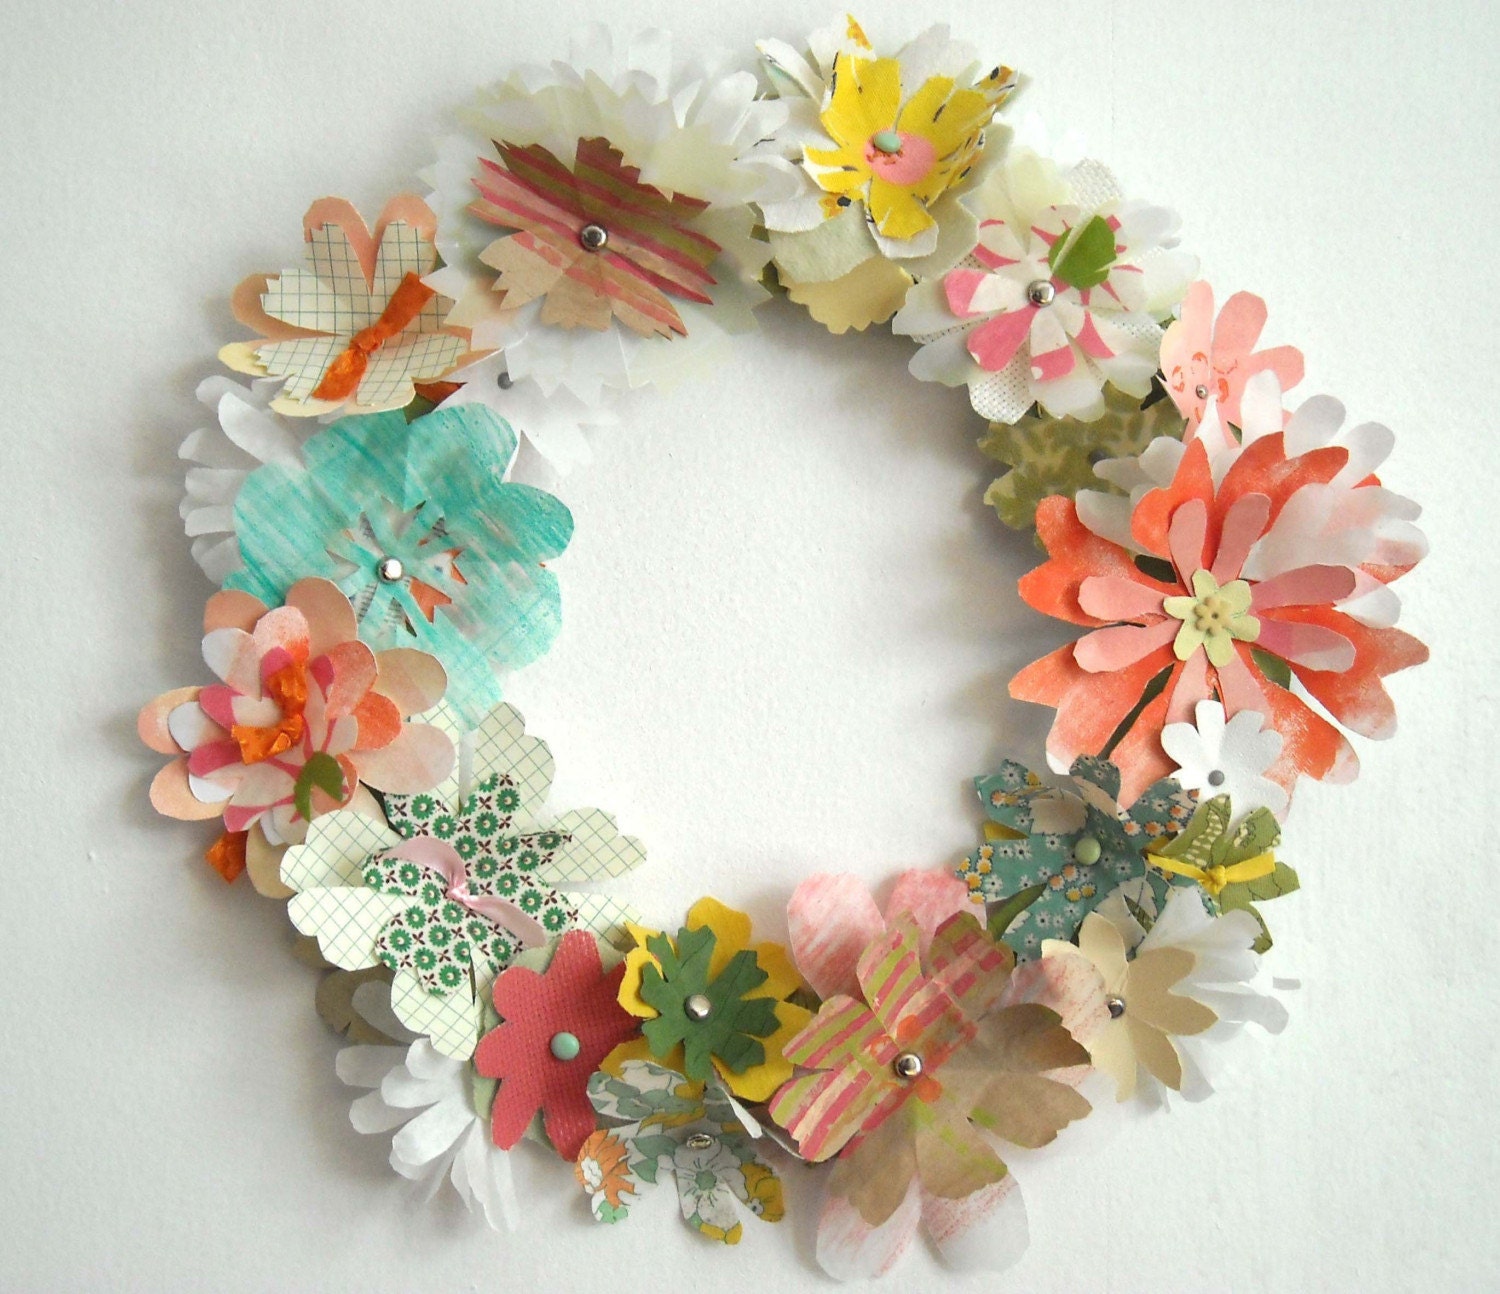


In the etsy store Itzfitz there are some really pretty wreaths like this one,


and this one,


aren't they just so pretty?

I also found this nice image online, but the etsy seller no longer exists, and doesn't have a blog anymore, so I can't give credit where credit is due, but I did want to share, it is so very feminine. I am not certain that I could recreate it, but I could try. I would change the sign to perhaps He is risen, or Happy Spring, or He's alive, or maybe leave it off so It can stay on my door longer.


and, this from Home Confetti
don't you just LOVE that little sign stuck on top??


Or, click this to see some goodness from under the sycamore!


And, at the spotted sparrow look at this, so simple, but the vintage feel really appeals to me. I'm not sure how I would hang it, perhaps by a ribbon attached to the back. My doors are also glass, so the back has to be at the least tidy, and at best pretty.


Here's one from etsy seller DanaAndCarol,
 it really screams spring doesn't it? 


The always beautiful and fresh Layla shares a how-to for an equally fresh and beautiful wreath HERE, at the lettered cottage. If you haven't found her decorating blog, you must stop by for a visit. 

What about this braided wreath from Carolyn, she also shares the how to for this one, on her blog Homework, with a robins nest complete with tiny blue eggs that I adore! 


So, there you have it,
 anyone with spring fever out there? 
Which wreath do you like best from those I've chosen?

Tuesday, March 15, 2011

platters, splattered on the wall


This post went out without any words first,by mistake, so for the three people who read my blog, if you read it through a reader you received that post, and must have thought I was a bit random. So sorry!

Anyway, since I was on a plate hanging rampage, I decided to finally hang all these white platters I have been collecting.

Here they are on the left,


and from the right.


They were so much bigger before I hung them up!


There you have it, platter splatter.

Posted by Picasa

Friday, March 11, 2011

jumping lenses?


You will have to excuse my pictures for a while, as my favorite lens decided to jump off the highest shelf in the TV cabinet in my bedroom. It was the middle of the night, and there was a big thud that woke me up, and it was my very stylish, but still padded camera case, that was on the shelf, but was now on the floor. How does that happen? It was the middle of the night, no one was moving, just the earth rotating the sun as usual, and splat goes my beautiful Nikon 18-135 loveliness, and now she is scrambled eggs inside, rattling like the pit full of snakes in that Indiana Jones movie. Tragic I tell you, eye leaking tragedy, and now my pics are, well, not very good, because I have to use my long lens for everything, and well, I don't know, it just doesn't work like my scrambled friend did.


So any way, here's what I did with some plates....whatever!


Funky Junk Interiors